A couple of new windows
- Wizard Steve
- Aug 12, 2022
- 2 min read
Updated: Aug 16, 2022
Do you remember the window that was vandalised?* Well, obviously, it needed repairing, and, you may also remember that I replaced the doorway.** Given the proximity of the window to the door, making a whole new window frame became necessary. Besides, it would look great.
I started by removing the old window.

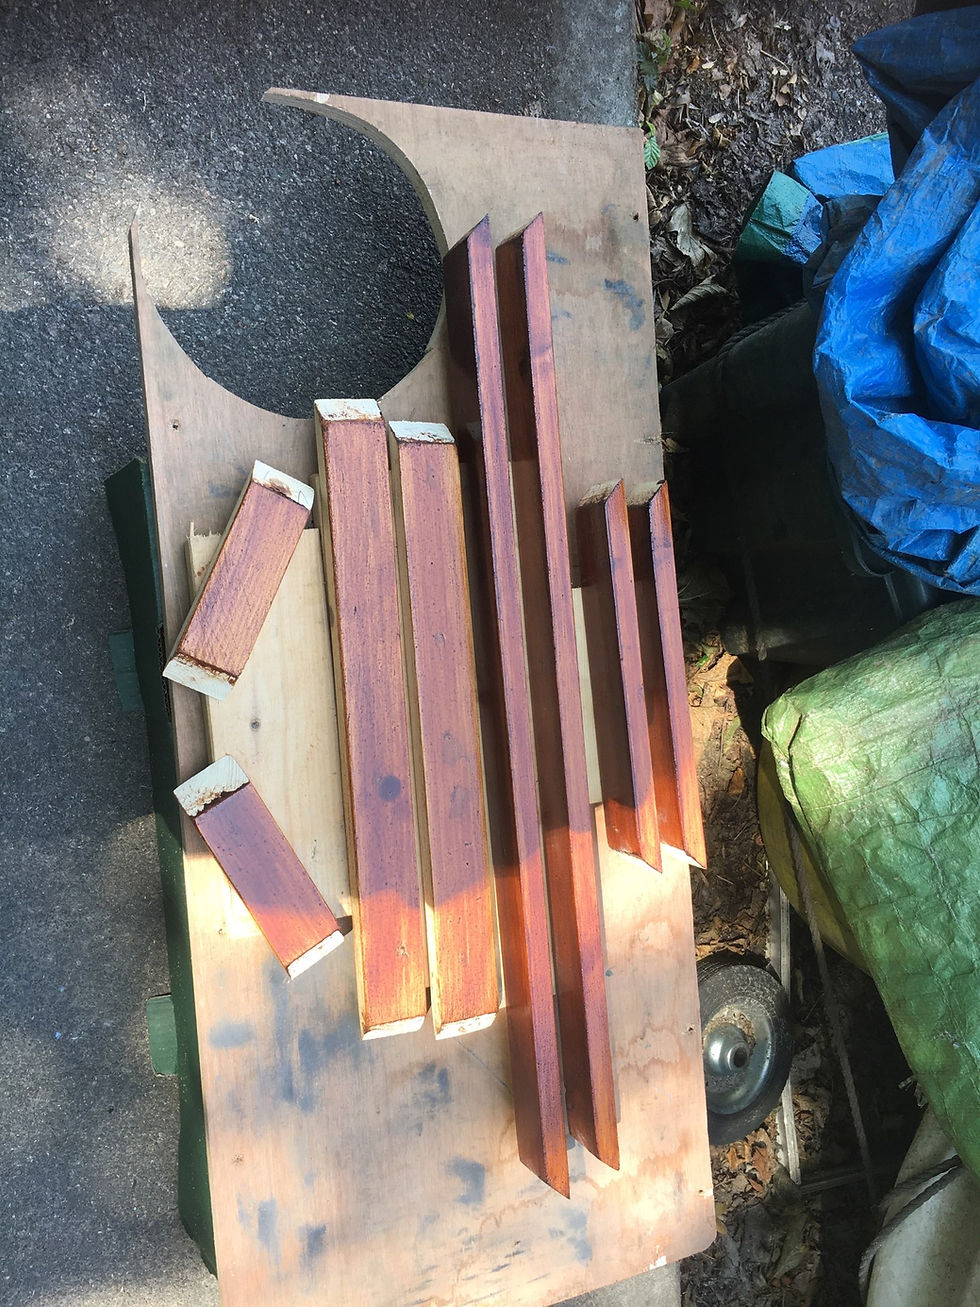
After measuring, I chose and cut the wood that I needed.


Then shaped and sanded.

Once stained, I fitted.

I then made the vertical ends,

stained and fitted.

I made the sections up for the opening windows.
Bedroom and kitchen window frames
I also made a frame for inside.

Once stained, I fitted.

The next stage turned out to be a challenge. I made the little window up using toughened glass which I tinted. It looked great.

Then things went awry. I fitted hinges that I discovered where completely the wrong type. I didn’t realise my mistake until I had shaved too much off the bottom edge due to window not fitting well. In the end, it looked awful. I took several deep breaths and resolved to start again after a period of time coming to terms with my cock-up. Eventually, I remade the window. To start with, I used the wrong stain. Fortunately, sussed quickly and managed to sand back and use the correct stain. Finally, using the correct hinges and with the help of extra hands via my sons, fitted it.

The doorway when fitted moulded into the window frame.
I was then able to fit the main window glass, also tinted. Tinting the bedroom windows is great for privacy.

Getting the right casement stay didn’t take too long. I bought enough stays to finish the rest of the proposed bedroom windows so that when it came to it, they would all match.


Finally, I weatherproofed by making and fitting a sill to the opening window and backing with neoprene. I also fitted neoprene in the window opening so that it is sealed against the weather when closed.


While I was at it and given that I was building a new kitchen,*** I made a new kitchen window.
The first thing I was aware of is the nonsensical direction of opening the window. It is clearly arse-about-face! Why would one design a window to open upwards, i.e. hinged at the top? Would it not make sense to be the opposite way?; so as to allow steam from cooking to escape freely, thereby not compounding condensation on the kitchen wall? Or am I being logical?

Beading for bedroom and kitchen windows
As before, I made the main frame and fitted.
I made the window frame,

sourced the toughened glass.

and fitted.


Then I had another accident. While in the process of cleaning, the window slipped off of the table. A corner was damaged where it hit the pavement. Fortunately, it wasn’t too bad and I was able to make good easily.

I then made and fitted the interior window frame.

Once hinged, the window was fitted.

Lock stays were then sourced and fitted.

Beside giving access to the hob and allowing steam to escape the confines of the kitchen, the fully open window also doubles up as a shelf.

*see entry A vandal and tinned food
**see entry A new doorway
***see entries A new kitchen, part 1 & part 2


Comments